Smooth Transitions: Building a Stunning React App with Framer Motion and React Router DOM.
Creating a Simple React App with Smooth Page Transitions using Framer Motion and React Router DOM.


Are you interested in building a React application with smooth page transitions? In this tutorial, we'll guide you through the process of creating a simple React app with smooth page transitions using two powerful libraries: Framer Motion and React Router DOM. We'll walk you through the steps to set up the project, install dependencies, create page components, set up routing, implement page transitions, and more. By the end of this tutorial, you'll have a solid understanding of how to incorporate smooth page transitions into your React projects. So let's get started!
With React.js, you can build single-page applications that don't require the entire page to reload when you click on different links. Instead, the content updates quickly and smoothly, making it hard to notice any changes. This amazing feature allows us to add cool transition effects when moving between different pages or sections on a website.
Prerequisites
Setting Up the Project
Installing Dependencies
Creating the Page Components and Setting Up Routing
Implementing Page Transitions with Framer Motion
Conclusion
Prerequisites
Before we begin, make sure you have a basic understanding of React, react-router and npm (Node Package Manager). Familiarity with JSX and ES6 syntax is also beneficial. Additionally, ensure that Node.js is installed on your machine to run the development server.
Setting Up the Project
Let's start by setting up a new React project using Create React App. Open your terminal and run the following command:
npx create-react-app page-transition-app
After the app is created, switch to the new folder using the following command:
cd page-transition-app
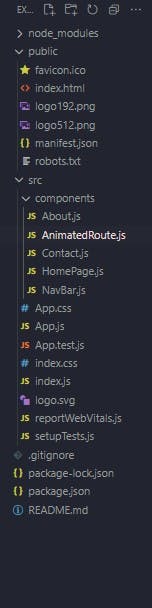
The Directory structure of the app currently looks like this:
Installing Dependencies
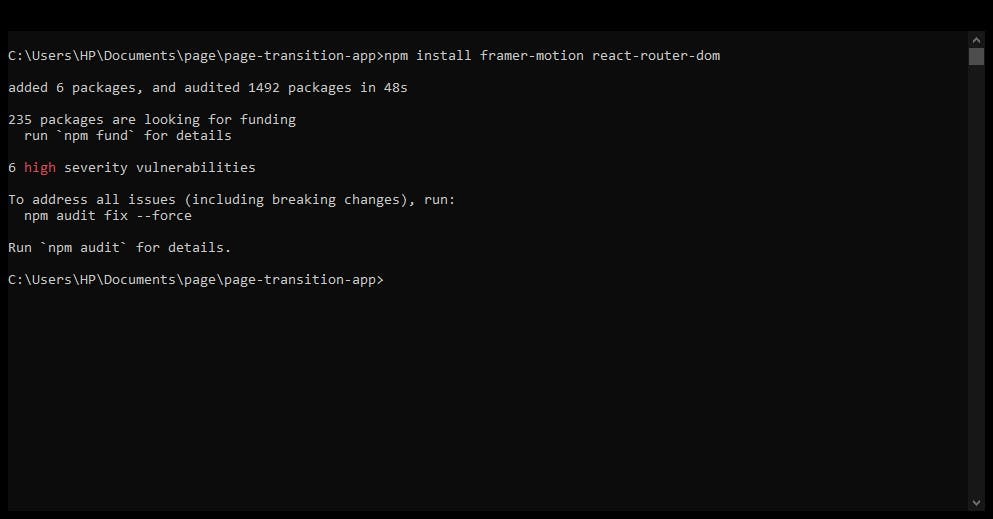
In this step, we'll install the necessary dependencies for our project, including Framer Motion and React Router DOM. Execute the following command in your terminal:
npm install framer-motion react-router-dom
Creating the Page Components
To create our three-page application, we need to define the components for each page. In the src folder, create a folder and name it “component” Create three files: HomePage.js, AboutPage.js, and ContactPage.js. Implement the basic structure and content for each page component.
let's start by creating the HomePage.js component.
import React from "react";

export const HomePage = () => {
  return (
    <div>
      <h1>Welcome to Home page</h1>
      <p>
        Lorem ipsum dolor sit, amet consectetur adipisicing elit. Sequi,       qui.
        Hic animi distinctio et maiores, ab nostrum at neque. Iusto minus
        perspiciatis vitae unde? In quibusdam nulla perspiciatis laboriosam ex.
      </p>
    </div>
  );
};
Here, we created a sample homepage with some dummy content.
Next, we'll proceed to construct additional components, and create a new file called About.js:
import React from "react";

export const About = () => {
  return (
    <div>
      <h1>Welcome to About us</h1>
      <p>
        Lorem ipsum dolor sit, amet consectetur adipisicing elit. Sequi, qui.
        Hic animi distinctio et maiores, ab nostrum at neque. Iusto minus
        perspiciatis vitae unde? In quibusdam nulla perspiciatis laboriosam ex.
      </p>
    </div>
  );
};
Afterward, we'll generate a file named Contact.js and insert the following code:
import React from "react";

export const Contact = () => {
  return (
    <div>
      <h1>Welcome to Contact us</h1>
      <p>
        Lorem ipsum dolor sit, amet consectetur adipisicing elit. Sequi, qui.
        Hic animi distinctio et maiores, ab nostrum at neque. Iusto minus
        perspiciatis vitae unde? In quibusdam nulla perspiciatis laboriosam ex.
      </p>
    </div>
  );
};
Additionally, let's create our Navbar component:
import React from "react";
import { Link } from "react-router-dom";

export const NavBar = () => {
  return (
    <div style={{marginBottom: "50px"}}>
      <nav>
        <ul>
          <li>
            <Link to="/home">Home page</Link>
          </li>
          <li>
            <Link to="/about">About use</Link>
          </li>
          <li>
            <Link to="/contact">Contact us</Link>
          </li>
        </ul>
      </nav>
    </div>
  );
};
Looking at the code snippet provided above:
We imported the Link component from react-router-dom, which enables us to create links for each page to be displayed in the Navbar.
We defined the routes for the home page, about page, and contact page as follows: "/home" for the home page route, "/about" for the about page, and "/contact" for the contact page.
Next, let's create a file called AnimatedRoute.js and copy the following code into it:
import React from "react";
import { Routes, Route, useLocation } from "react-router-dom";
import { HomePage } from "./HomePage";
import { About } from "./About";
import { Contact } from "./Contact";
import { AnimatePresence } from "framer-motion";

export const AnimatedRoute = () => {
  const location = useLocation();
  return (
    <AnimatePresence mode="wait">
      <Routes location={location} key={location.key}>
        <Route path="/" element={<HomePage />} />
        <Route path="/home" element={<HomePage />} />
        <Route path="/about" element={<About />} />
        <Route path="/contact" element={<Contact />} />
      </Routes>
    </AnimatePresence>
  );
};
Here, we imported the Routes, Route, and useLocation from react-router-dom.
The Routes component represents a notable enhancement over the Switch element in version 5. By utilizing the route functionality, we can seamlessly navigate to each page we've created in response to user requests.
The useLocation hook plays a vital role in helping the routes identify the current page we are on.
Additionally, we import the page that is wrapped with animatedPresence from the framer motion library.
Implementing Page Transitions with Framer Motion
Now, let's revisit our previous pages and update them accordingly as shown below:
Homepage.js:
import React from "react";
import { motion } from "framer-motion";

export const HomePage = () => {
  return (
    <motion.div
      initial={{ opacity: 0 }}
      animate={{ opacity: 1 }}
      exit={{ opacity: 0 }}
      transition={{ duration: 3 }}
      style={{ marginTop: "10px", textAlign: "center" }}
    >
      <h1>Welcome to Home page</h1>
      <p>
        Lorem ipsum dolor sit, amet consectetur adipisicing elit. Sequi, qui.
        Hic animi distinctio et maiores, ab nostrum at neque. Iusto minus
        perspiciatis vitae unde? In quibusdam nulla perspiciatis laboriosam ex.
      </p>
    </motion.div>
  );
};
About.js:
import React from "react";
import { motion } from "framer-motion";

export const About = () => {
  return (
    <motion.div
      initial={{ opacity: 0 }}
      animate={{ opacity: 1 }}
      exit={{ opacity: 0 }}
      transition={{ duration: 3 }}
      style={{ textAlign: "center" }}
    >
      <h1>Welcome to About Page</h1>
      <p>
        Lorem ipsum dolor sit amet consectetur adipisicing elit. Sint quasi
        debitis fuga deserunt, placeat qui optio totam perspiciatis error.
        Repudiandae, enim veniam. Dolorum officiis recusandae consequuntur
        veritatis magni aliquam itaque.
      </p>
    </motion.div>
  );
};
Contact.js:
import React from "react";
import { motion } from "framer-motion";

export const Contact = () => {
  return (
    <motion.div
      initial={{ opacity: 0 }}
      animate={{ opacity: 1 }}
      exit={{ opacity: 0 }}
      transition={{ duration: 3 }}
      style={{ marginTop: "10px", textAlign: "center" }}
    >
      <h1>Welcome to Contact us</h1>
      <p>
        Lorem ipsum dolor sit, amet consectetur adipisicing elit. Optio mollitia
        in minima architecto odit sunt enim quidem blanditiis voluptates,
        provident veritatis labore. Natus pariatur eos at nemo, officia
        voluptatibus accusamus.
      </p>
    </motion.div>
  );
};
In the code above:
In all three pages, we import the motion module from framer-motion. By utilizing motion, we can define the desired animation behavior.
We apply various properties to the motion component, such as:
initial: This property sets the initial state of an element.
animate: It defines the animation to be applied when the component is mounted. If the values differ from the style or initial properties, it animates these values.
exit: This property specifies the animation that occurs when the component is unmounted.
transition: It allows us to modify the animation properties, including the duration, easing, animation type, and more.
These properties empower us to customize and control the animations applied to our components, creating engaging visual effects.
Finally, let's return the Navbar and AnimatedRoutes components. Open the App.js file and insert the following code.
import "./App.css";
import { BrowserRouter as Router } from "react-router-dom";
import { AnimatedRoute } from "./components/AnimatedRoute";
import { NavBar } from "./components/NavBar";
In this code snippet, we imported the router module. We will return the Navbar and AnimatedRoutes components by encapsulating them within our Router, as illustrated below:
function App() {
  return (
    <Router>
      <NavBar />
      <AnimatedRoute />
    </Router>
  );
}
And lastly make sure your index.js file looks like this:
import React from "react";
import ReactDOM from "react-dom/client";
import App from "./App";
import "./index.css";

ReactDOM.createRoot(document.getElementById("root")).render(
  <React.StrictMode>
      <App />
  </React.StrictMode>
);
let run the app by using the following command:
npm start
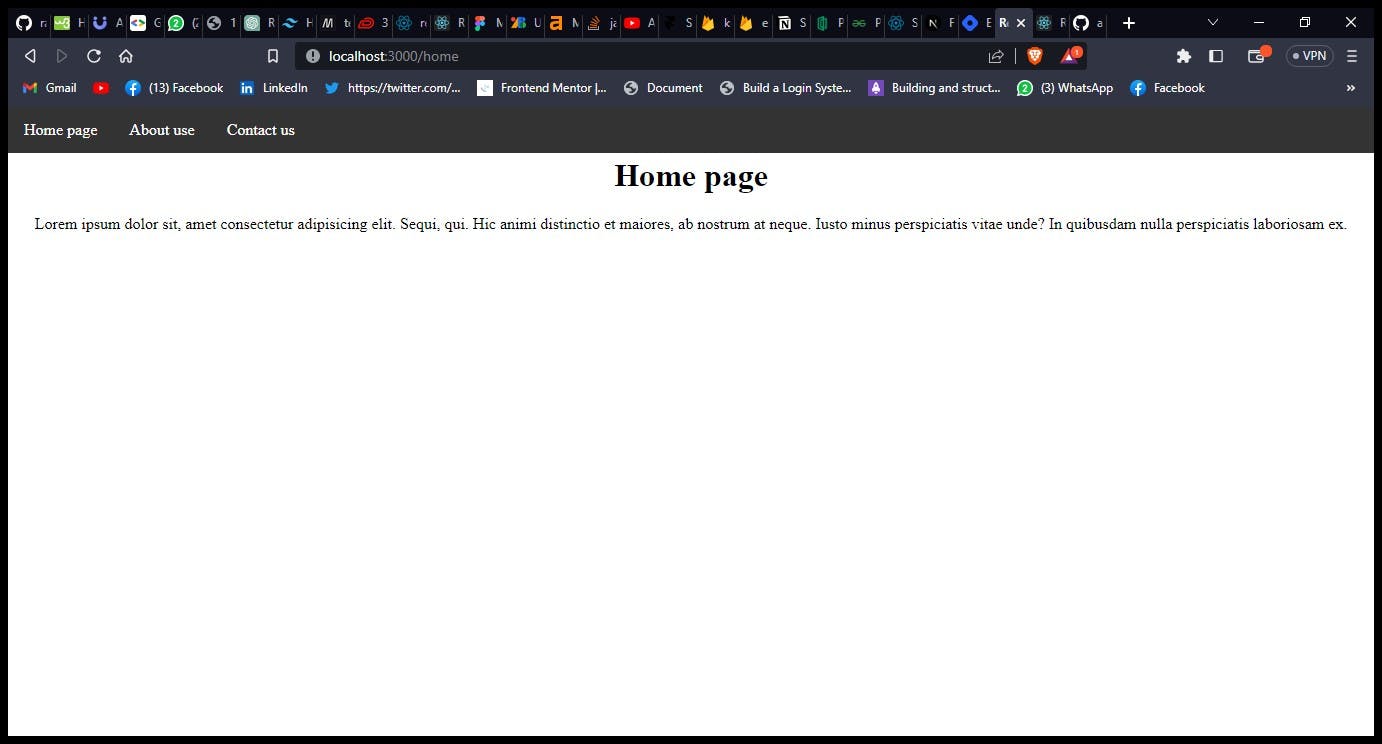
Output:By default, the React project will run on port 3000. You can access it at localhost:3000 on your browser. We will observe transitions between the pages as we navigate through them.
conclusion
In conclusion, we've successfully created a simple React app with smooth page transitions using the Framer Motion library and React Router DOM. By following this tutorial, you've learned how to set up a React project, install dependencies, create page components, set up routing, and implement smooth page transitions.
With the power of Framer Motion, you were able to add engaging animation effects to your page transitions, enhancing the overall user experience of your React application. By leveraging the React Router DOM library, you established seamless navigation between different pages, ensuring a fluid and intuitive browsing experience for your users.
Page transitions play a crucial role in modern web design, providing a visually appealing and interactive way to navigate through different sections of a website. Incorporating smooth page transitions can greatly enhance the user interface and make your React projects more engaging and professional.
Now armed with the knowledge and skills acquired from this tutorial, you can confidently implement page transitions in your future React projects. Experiment with different animations, customize transition properties and create stunning visual effects to captivate your audience.
Remember to keep exploring the rich features and capabilities of both Framer Motion and React Router DOM to unlock even more possibilities for your React applications. Happy coding!
We value your opinion, so please don't hesitate to leave your thoughts in the comments section below. We are always looking to improve and provide our readers with the best content possible.
If you found this article helpful, please consider giving it a clap and sharing it with your peers. Your support means a lot to us and helps us reach a wider audience.
About the Author:
Abubakar Muhd Ala is a Frontend Software Engineer and a Computer Science student at Aliko Dangote University Of Science and Tech, Kano. I am passionate about technology and communication, and I enjoy simplifying complex concepts into easily understandable language for everyone. Follow me for more insightful content on technology and development.
Want to connect? 📲
📸 Instagram | 💼**LinkedIn** |🐦**Twitter**
¡Thanks! ❣️